Sprites with different images dimensions in GameMaker Studio 2
When you try to import multiple images into a single sprite in GameMaker Studio 2, you could end up with unexpected results. Specifically, if the images have different sizes (width and height), the sprite size will be equal to that of the largest image, but all the other images will be imported stretched to fill the canvas (effectively ruining the sprite).![]()
To fix this, I use a command like utility called ImageMagick. If you don’t have it, go get the windows binary and install it.
So let’s say that I need to import all these sprites![]()
As you can see, all these images have different width and height. But I need them to be imported into a single sprite. Let’s create a sprite in GMS2 and see what happens then.
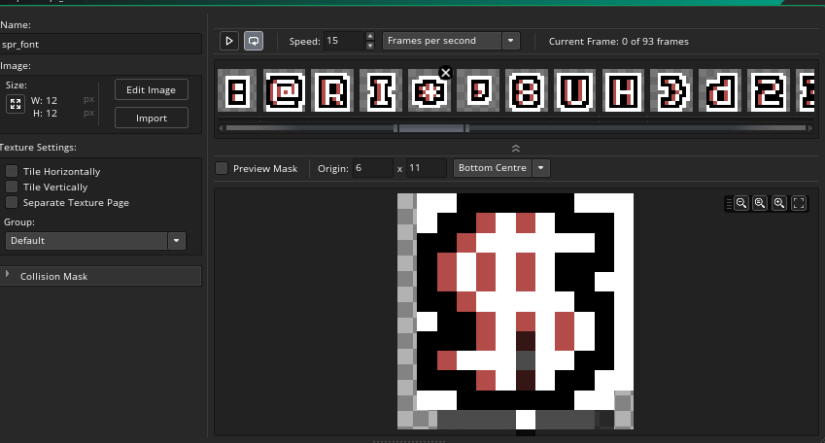
As you can see from the image above, every character has been stretched to fill the entire 12×12 canvas. So now a comma is just as big as the number 8. Nice job, GameMaker!
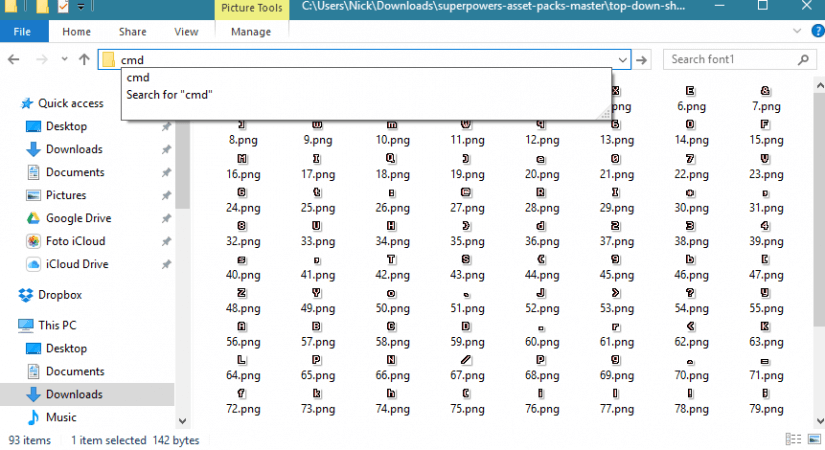
Let’s fix it. To do this I open the command prompt. Then I type the command
mogrify -background transparent -extent 12x12 -gravity center *.png
The 12×12 dimension is the one that GameMaker assigned to the sprite. Remember it? That is the largest width and height of my images (the final size of the sprite). I got that information when I first imported the images in GMS2.
I want the -background to be transparent. I also want to keep the sprite centered and expand the canvas all around it (the -gravity parameter).
-gravity accepts NorthWest, North, Northeast, West, Center, East, SouthWest, South, SouthEast as parameters.
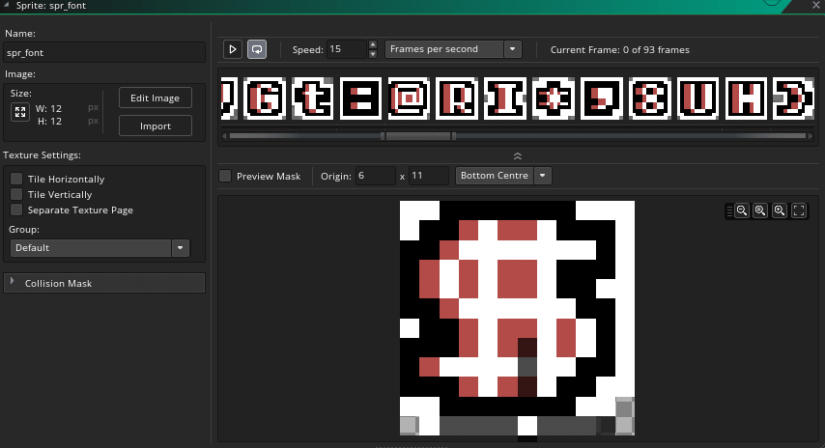
Execute that command and… done! Now I’ll import the images in the sprite again, overwriting the previous abomination.
I don’t know if this is a bug or it’s the GMS2 intended behavior, but now you know how to fix it with a single, simple command.
I was having this weird Issue as well. Is it a GMS bug or something?
Once I had a software specialized with these sort of batch image edits. Can’t find it now. Oh well, this will do.
Thanks
Just create your font sprites with the correct spacing to begin with 🙂 If I’m pixelling a ‘full stop’ I ensure it’s positioned on the baseline and lean towards positioning on the left-handside of the sprite square to look correct when used.