Guide to develop low resolution 2D platformers with smooth movement and pixel perfect collisions in GameMaker Studio 2 (with slopes)
https://www.youtube.com/watch?v=zwEGAXgR4W8
Low resolution is great. It saves CPU power, especially with the collision code I talk about in this article, and it makes it easier to work with the project (like when building huge rooms or making edits to sprites). You’ll see that sometimes there’s little to no reason to scale up your sprites. It’s just a waste of resources.
With the collision code I use objects move by whole pixels. This makes for perfect collisions but it usually leads to jittery movements. Luckily there’s a simple solution.
The Movement and Collision Code
This is the most practical collision code I ever came across on the web. I read about it some time ago on Zack Bell‘s blog and I subsequently adapted it slightly to suit my needs. It basically remains the go-to code for 2D low res platformers. It’s like… unbeatable. Think holy grail of platformer movement and collision.
Collision Hierarchy
scr_platformer_init
scr_platformer_step
Collision Hierarchy
I’m using the following hierarchy.
 obj_solid
  |
  |_ obj_slope
     |_obj_slope_rx
     |_obj_slope_lx
You can use a different hierarchy for your collisions, just adapt the scr_platformer_move code. I’m using fall through platforms so I use the obj_solid_top.
scr_platformer_init
This script must be called from the create event of your active/moving objects.
/// @desc       Initialize Platformer Vars
/// @func       scr_platformer_init()
/// This script is usually called in the create event
// Initialize the variables used for movement code
xVel = 0                // X Velocity
yVel = 0                // Y Velocity
xVelSub = 0             // X Sub-pixel movement
yVelSub = 0             // Y Sub-pixel movement
scr_platformer_step
This code should run at the end of your movement velocities calculations. Ideally at the end of your object’s step event (normal step event is fine).
Collision Masks
It’s of fundamental importance that you take extra care when dealing with collision masks. Make sure they behave the expected way especially when flipping your objects around. Most of the times the error lies in the origin or in the symmetry of a mask.
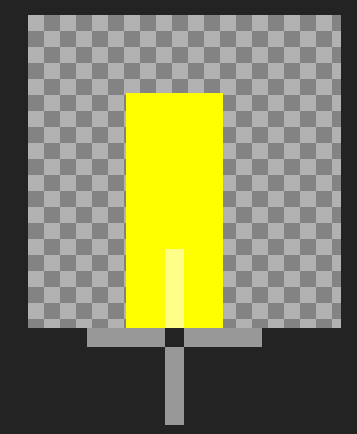
Wrong Collision Mask
Here’s a sample of a wrong collision mask. Counter intuitively I placed the origin in the exact middle of the mask. It will result in asymmetric mask behavior when mirroring it (i.e. when turning left or right in the game). This mask will create collision issues and probably get objects stuck inside walls or slopes.

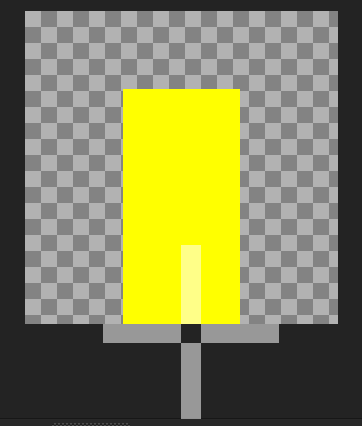
Correct Collision Mask
It took me a while to understand how the origin pointer looks and behaves. This is a centered, symmetric collision mask… I’ll be honest: it absolutely doesn’t look like that to me. But trust me, this is the right one.

Let’s fix the jittery movement!
It’s all about surfaces. We need to:
- Disable the automatic drawing of the application surface.
- Resize the application surface to the correct, hi resolution size.
- Draw our sprites with sub-pixel offsets.
- Draw the stretched application surface manually in a post_draw event.
Considerations
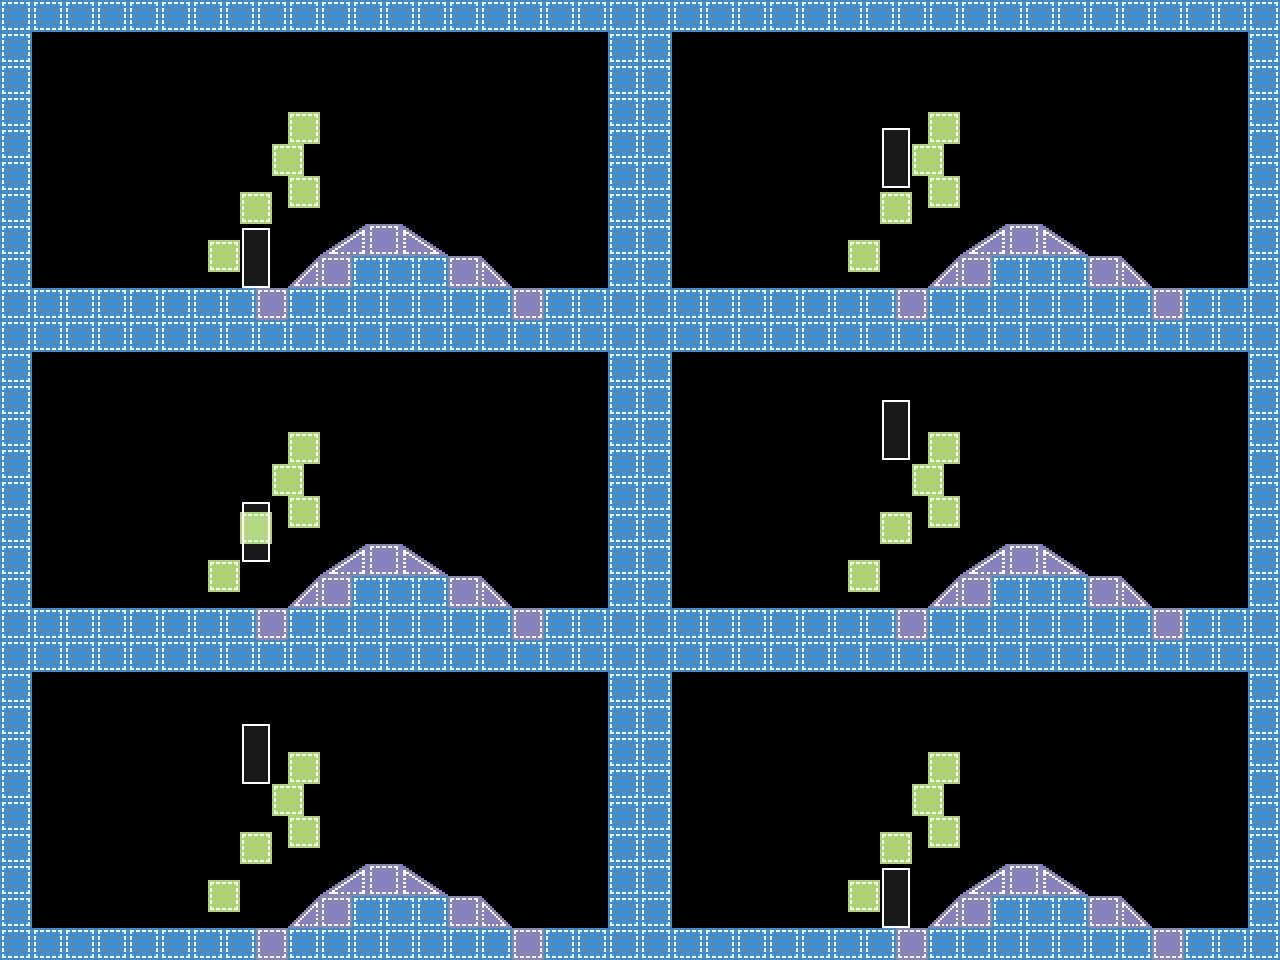
Can you see what’s going on here? Objects still move by whole pixels. Their collisions are still being calculated for whole numbers only. Still, we draw the sprites with sub-pixel precision!
The loops for collision checks have to run for very low numbers/distances. This means ultra-smooth movement, ultra high performances and very low disk/ram resource usage (compared to up-scaled pixel art).
Still jittery on slopes? Let’s fix it
If you download the attached project you’ll see how I solved the slopes jittery movement.
I’m using simple trigonometry to find the Y position given the X position on a slope. I’m still using whole pixels to compute collisions but I use the following snippet just to draw the sprite of the player.
// Check for slope offset
slope = collision_rectangle(bbox_left, bbox_bottom +1, bbox_right, bbox_bottom + 1, obj_slope, true, true)
if slope
{
    var slope_height    = abs(slope.bbox_bottom - slope.bbox_top)
    var slope_base      = abs(slope.bbox_right - slope.bbox_left)
    var angle           = arctan(slope_height / slope_base)
    // Slope to the right
    if object_is_ancestor(slope.object_index, obj_slope_rx)
    {
        if bbox_right < slope.bbox_right slope_spr_y = slope.bbox_bottom - (bbox_right + xVelSub - slope.bbox_left) * tan(angle) else slope_spr_y = slope.bbox_top } // Slope to the left else if object_is_ancestor(slope.object_index, obj_slope_lx) { if bbox_left > slope.bbox_left
            slope_spr_y = slope.bbox_top + (bbox_left + xVelSub - slope.bbox_left) * tan(angle)
        else
            slope_spr_y = slope.bbox_top
    }
}
else
    slope_spr_y = 0    // Not on slopes
And so in the draw event of the player I use the following:
// Slope Y Position
if (slope_spr_y != 0)
    var yspr = slope_spr_y
else
    var yspr = y + yVelSub
draw_sprite_ext(sprite_index, image_index, x + xVelSub, yspr, image_xscale, image_yscale, 0, c_white, image_alpha)
Conclusions
This system might not be perfect and I’m open to new solutions. Let me know if you have a better system to obtain smooth movements using low resolution assets.

Great technics)
Do you think it’s possible to make camera also subpixel-ready for sidescroller-platformers?
Given you’re using an HD drawing surface (usually the application surface), it should be. Try adding the sub-pixel remainder to the camera movement code as well (just like you’d do with the player sprite drawing) and it should now follow the player with sub-pixel precision.