Scale 2D pixel art games using surfaces to avoid pixel decimation in GameMaker Studio 2
Much has been written about resolution scaling in pixel art games. It usually comes down to this simplistic rule: always resize 2D games by integer values (2x, 3x, 4x, 5x, etc) so pixel art will always look correct.
I wrote that myself; to make a good looking low-res pixel art game on modern monitors, you should stick with a 384×216 resolution and scale it up 5 times to get a perfect 1920×1080 (1080p) game.
That’s still true-ish. But the problem I was trying to address wasn’t pixel distortion. It was pixel decimation. Let’s see how to solve it using any resolution you want to use.
What is Pixel Decimation
When you resize an image to non integers multiples, GameMaker has to figure out where to draw the original pixels inside the new, bigger grid. And since there is no such thing as half a pixel, distortion occurs.
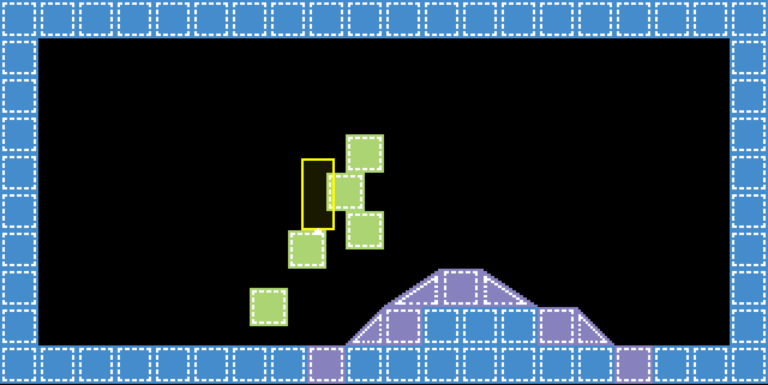
Let’s take this image, for example. It’s a 390×220 pattern I created in Photoshop to illustrate the issue.

Now, my game consists of just this image, stretched to fullscreen (what a fun game!). i.e. the view is set to the size of the image, but then I run the game in fullscreen.
Since my notebook display resolution is 1366×768, how is GameMaker supposed to scale a 390×220 image? The display resolution is more or less 3.5 times that of the image; it’s not an integer multiple.
And so pixel decimation occurs.
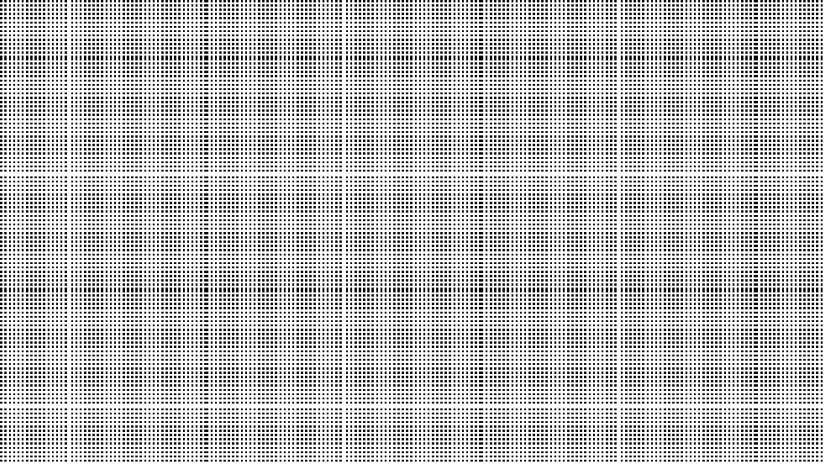
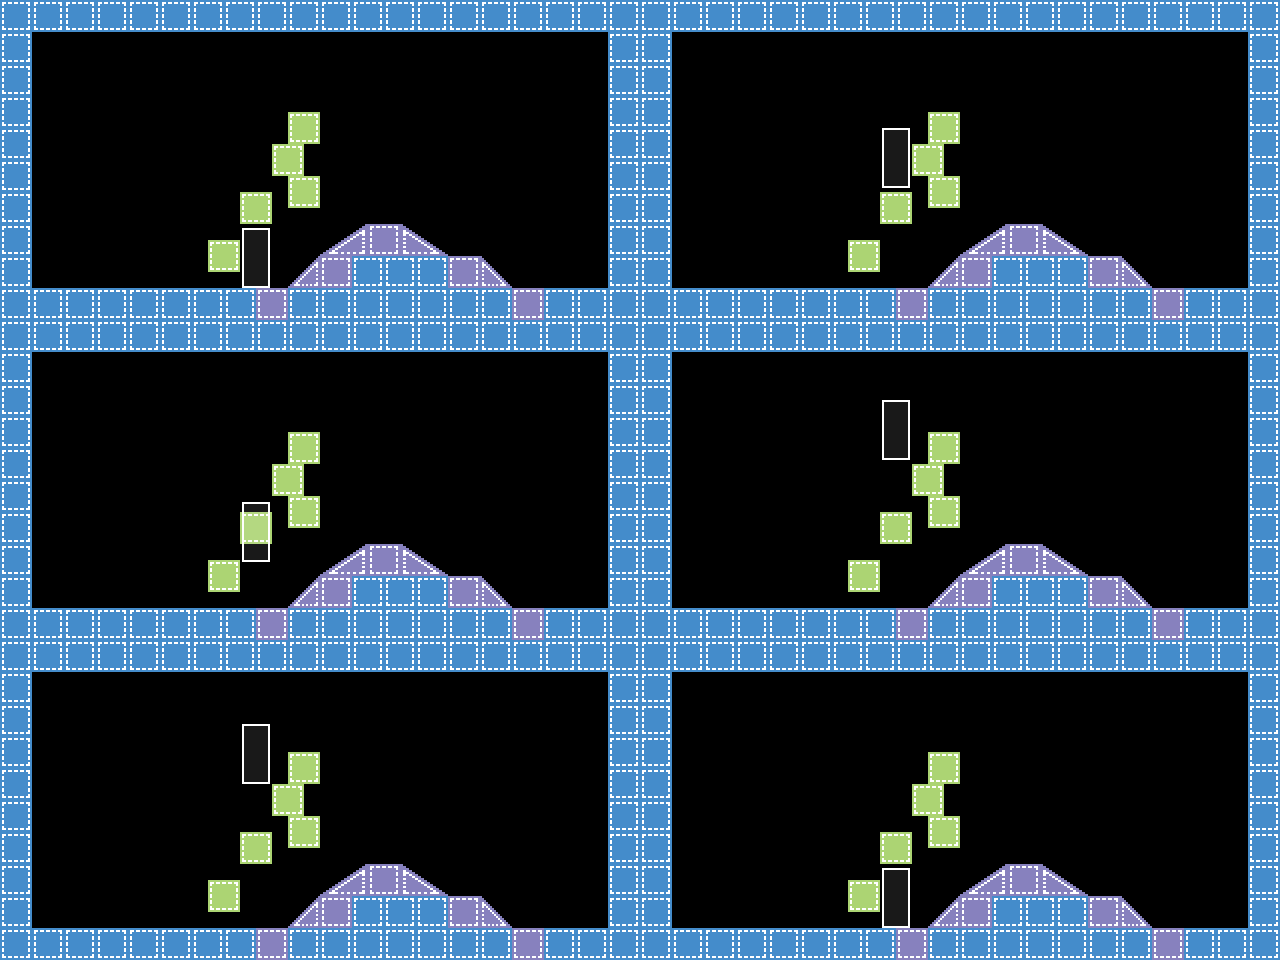
Pixels are being, literally, decimated. Some lines (both columns and rows) are being skipped entirely while others are being drawn twice to fill the gaps (or at least that’s what it looks like).
We’re losing details. This is because GameMaker’s trying to draw a 390×220 picture inside a 1366×768 surface (which is 3.5 times larger). The 3.5 multiplier is wrecking havoc. It’s not 3. It’s not 4. It’s 3.5.
A plausible solution
Resize the application surface to be the same size of the view, and then draw it scaled to the display width and height. Some distortion is still there (some pixels may not appear square) but all pixels will be there.
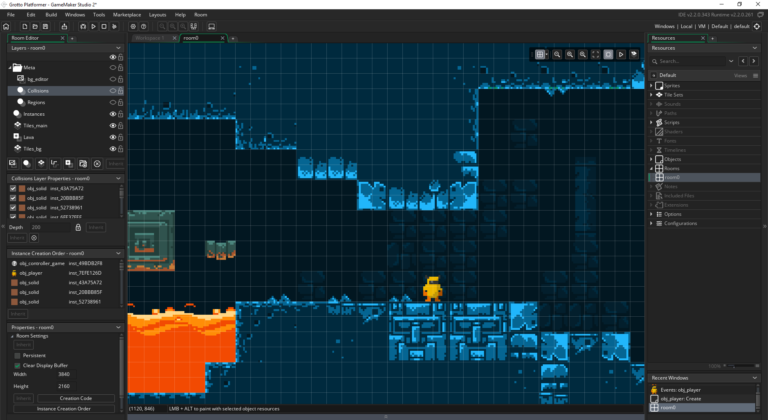
In this case I resize the application surface to be exactly 390×220 (same as the view) before drawing to it (i.e. at the start of the game). Then I use the draw_surface_stretched function to draw that surface stretched to fullscreen. GMS is still making a 3.5 times stretch, but in this case pixels have already been drawn to the application_surface. So the only distortion that will happen, will be about some pixels aspect ratio.
Since the surface is now the same size of the view, each pixel actually gets drawn in its correct place. This is way better than pixel decimation because, at least, we don’t lose detail.
Now GameMaker simply stretches the surface to cover the screen area.
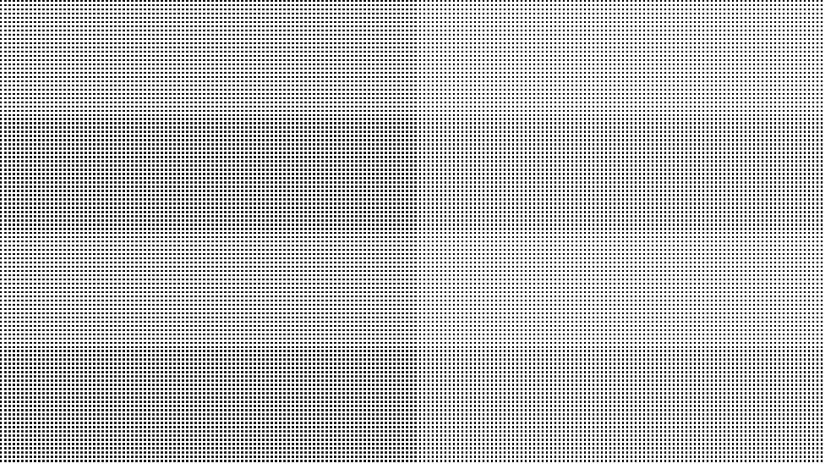
Please note that this is almost exactly the same distortion that would happen if you were to resize the original picture with Photoshop.
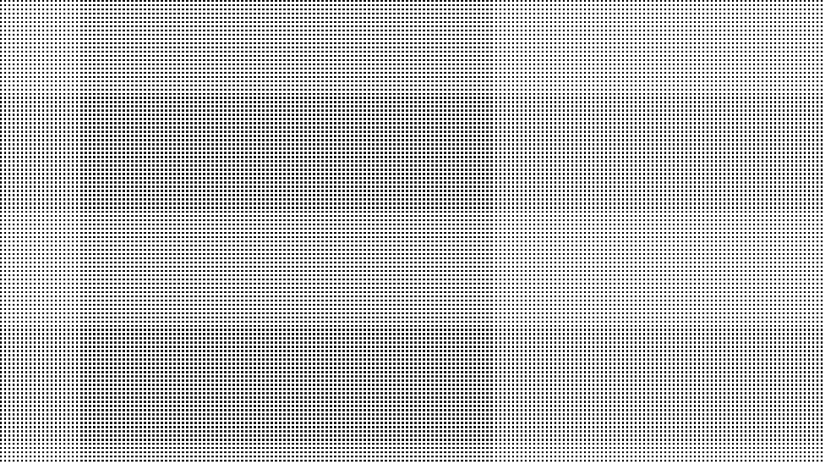
There’s still a sampling problem, albeit a different one; it’s just a matter of personal preference then.
To avoid pixel decimation (but still get some pixel distortion) you can use this method then. But if you absolutely, positively need no compromise, and you want perfectly square pixels with no distortions at all… then you’re left with the integer multiplier solution (i.e. you have to use an integer multiple of the final display resolution)
Real Example
Since games are not evenly spaced black pixels (thank God), the worst kind of effect tends to happen with pixel decimation (especially in moving images).
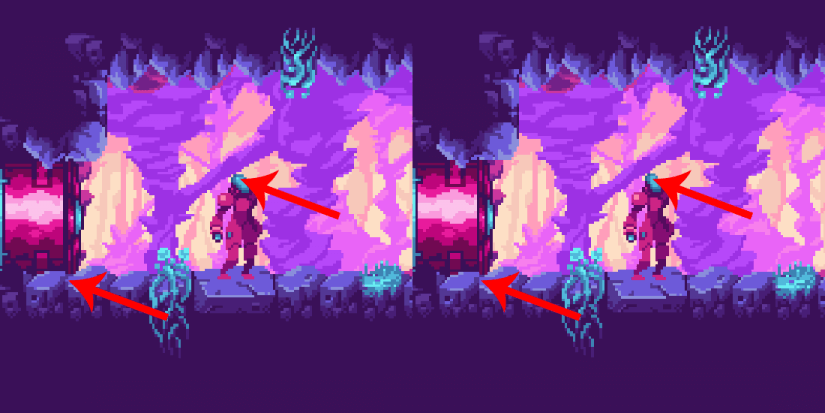
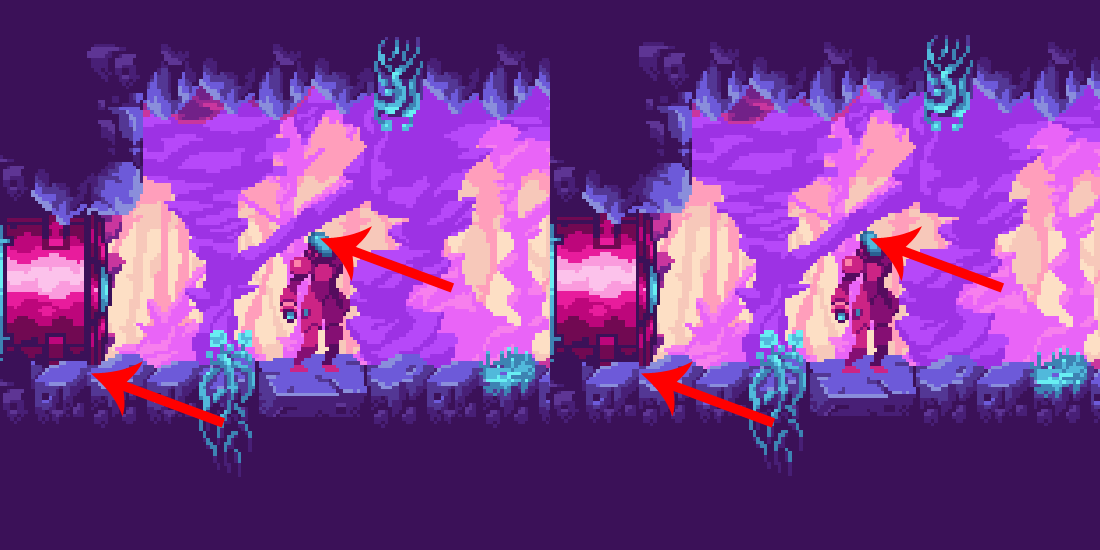
Entire lines (rows and columns) of pixels appears and disappears everywhere in the game during camera movements. You can even see the effects in still images as well. Look at the example below: the white reflection on the head of the player is gone in the right image. Also other lines are being skipped.
This is great but where’s the code?
The code is simple. First you have to disable the drawing of the application surface.
// Place this in your controller create event.
application_surface_draw_enable(false)
Then resize the application surface to match the view of your game.
// Use your own WIDTH and HEIGHT
surface_resize(application_surface, VIEW_WIDTH, VIEW_HEIGHT)
Now go inside the draw_post event of your controller and draw the stretched surface.
// Use your display sizes
draw_surface_stretched(application_surface, 0, 0, DISPLAY_WIDTH, DISPLAY_HEIGHT)
Done. Please note that this method does not solve issues relative to wrong aspect ratio; I’ll write another post about that. This method only deals with pixel decimation.
Special thanks to Luis Zuno aka Ansimuz for providing the graphics you see above. Get this and other great free asset packs at pixelgameart.org
Thanks a lot, dude, you helped me get rid of a headache c:
You’re welcome 🙂
This works perfectly for the most part but I noticed something really weird with one of my character’s sprites! I’m working on a top-down game where the player character can move in 8 directions and for some reason when he’s moving in his south or southwest direction and using his “walking while holding weapon” sprite index he’ll get a shifting pixel on his head! It’s bizarre. It doesn’t seem to happen with any other direction or sprite index, so I’m puzzled.
Do you have a screenshot? Or maybe send me a DM on Twitter so we can see what’s the issue.
This was helpful, even in 2020. I’ve re-worked my display manager about three times now, and always end up finding some weird bug case. After reading this tutorial, a lot of stuff that’s been rattling in my head has finally clicked. Thanks for all your hard work!
Really glad you found this useful! 🙂
it might be outdated by now, im not sure, but i just get a black screen :/
The idea is to simply draw onto a perfectly sized surface (pixel perfect) and then draw that surface in the stretched mode. To do this we have to disable the automatic drawing and take control of the final drawing ourselves. You might be missing some steps. If you feel like it, I can take a look at the code.
I’ll setup a sample project for this with the latest version and see if I can upload it somewhere soon. Let me know 🙂