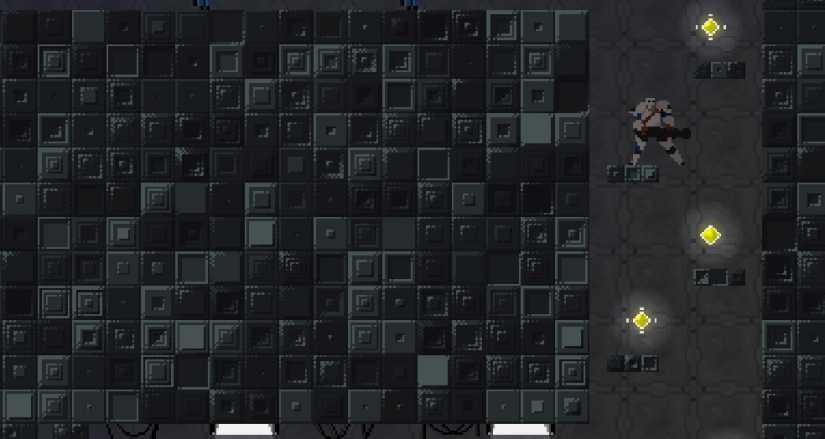
How I positioned the tileset in my tech demo
In the earlier tech demo, I had positioned a truckload of similar tilesets. Those bluish/greyish square blocks are not hand picked. I did not make that work in the level editor. I got inspired by the Smart Tile Objects tutorial by HeartBeast.
![[GameMaker Tutorial] Smart Tile Objects](https://i.ytimg.com/vi/f1Y98m5Cb2A/hqdefault.jpg)
I simply downloaded the Square Blocks Textures from OpenGameArt.org, cut and pasted a bit in Paint.net to adapt it to my needs, and imported the end result as a background in GameMaker Studio.
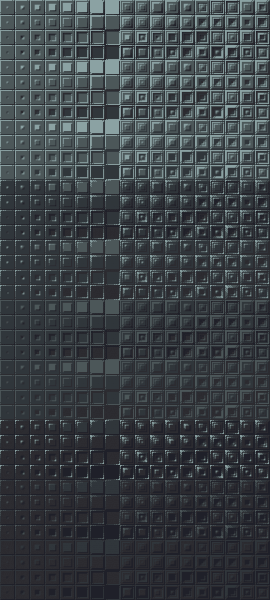
I made so that when the floor/wall object (which is invisible) is created, it places random tile from that background into the level. Covering the same surface the object covers.
This makes for a pretty quick and dirty way to test a level with low object counts. Also gives me a little “randomized” effect every time I start the level.
What if I don’t want all that randomness? It’s as easy as using random_set_seed(1)
So, here is the create event of the smart object.
tile_fill_object(id, bg_blocks_16, 16, false)
And here is the tile_fill_object script
///tile_fill_obj(obj, tile, tile_size, randomize_tiles)

var obj         = argument[0]
var tile        = argument[1]
var tile_size   = argument[2]
var rand        = argument[3]

var col_num = background_get_width(tile) div tile_size
var row_num = background_get_height(tile) div tile_size

if !rand
{
    random_set_seed(1)
}

for (var row = 0; row < obj.image_yscale; row += 1)
{
    for (var col = 0; col < obj.image_xscale; col += 1)
    {
        var col_index = irandom(col_num - 1)
        var row_index = irandom(row_num - 1)

        tile_add(tile, col_index * tile_size, row_index * tile_size, tile_size, tile_size, obj.x + (col * tile_size), obj.y + (row * tile_size), obj.depth)
    }
}
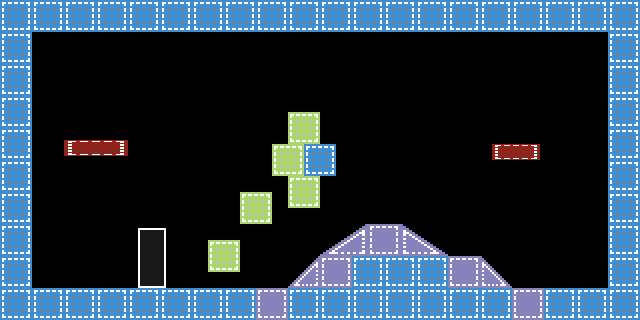
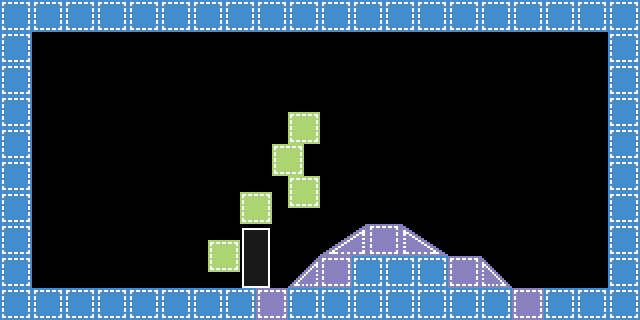
This is how it looks in the level editor
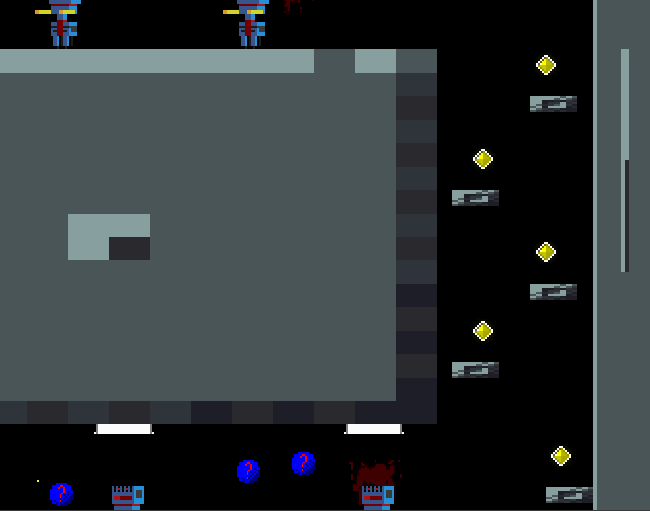
While this is how it looks in the game