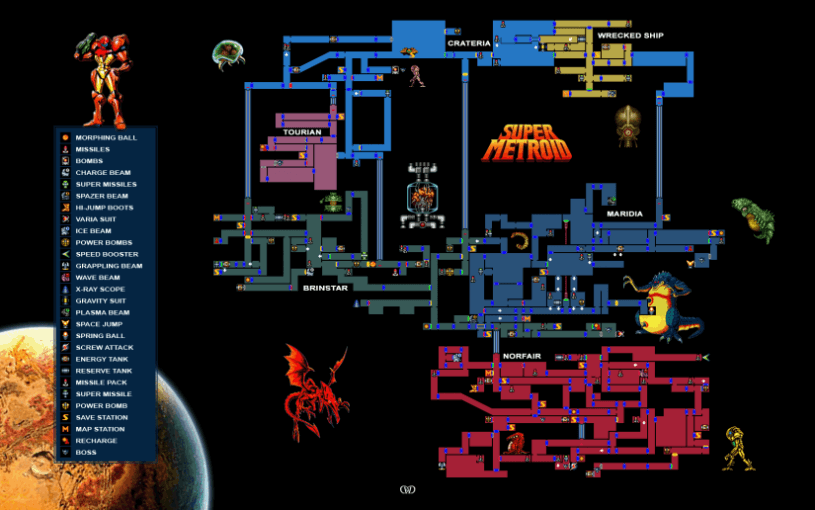
Metroidvania Metroid-like World Design
The Metroidvania Metroid-like game genre, from a development perspective, is quite complex to master. World and level design, for examples, are core elements of the game along with player abilities and game physics. You cannot plan one without the other. This is because player abilities, powerups and game physics, are the very elements that allow the Player to progress and advance (or backtrack) throughout the levels. This also means that levels must be designed around the player’s abilities, powerups and game physics (among other things).

From the blog Subtractive Design (Guide to Making Metroidvania Style Games: Part 1):
Metroidvania: A style of game (2D or 3D) which often features exploration based gameplay where a player controlled character gains new abilities that allow them to progress. These games are often action adventure titles with re-traversal elements. They include a growth system that unlocks meaningful upgrades that are required for game completion. The name Metroidvania comes from mixing Metroid and Castlevania […]
I don’t know how I feel about Castlevania (I’ve never played it; I don’t wanna play it and it’s definitely not my cup of tea) but I’m in love with Super Metroid and I’ve come to know a thing or two about its design and development (it’s not nostalgia because I’ve played it for the first time in December 2015, after my 31st birthday).
Metroid-like World Design Method (the one I used)
I’m currently developing a Metroidvania Metroid-like game (Project KREN). I had to develop a quick prototype to test the game engine; something like 15 rooms (aka levels, aka screens). Nothing fancy but it had to have the basic Metroid-like mechanics: levels with choke points, powerups, backtracking.
Since it’s not an easy task to embrace without a solid plan (even for a small sized prototype) I made some research into the open world level design field. Specifically the Metroidvania Metroid-like world planning and design. Here’s what I used.
The right tool for the job
Being a visual person, I downloaded yEd, a free graph editor (it runs on Linux as well so it was my first choice).
NOTE: the final diagram is NOT representative of the world map layout. It’s more like a logic scheme. The world layout is independent from this scheme. It just lays down the rooms, paths and zone succession.
So… you need to write some data on a piece of paper, notebook, text editor or spreadsheet. Not much for a small world like mine, but for a well thought out game you’ll need a different level of detail. I’m simplifying the task a bit.
Step 1: write the zones and the required abilities
Zones are divided into Levels (aka Rooms). A zone may have multiple rooms. To access a specified zone, the player must acquire a specific ability. Assign a color to each zone (and its required ability).
I planned on having 4 abilities other than the basic ones (those you start the game with). So I have a total of 5 zones. One for each powrup/ability (or key, if you prefer to use a simple key/door system).
- Begin Zone – Player can access this whole zone from the start.
- High Jump – Higher platforms or walls make it impossible for the player to go beyond the first zone if they cannot jump higher.
- Ice Beam – A classic. You must freeze enemies to be able to jump on them and progress.
- Quantum Tunneling – Player can finally get through small walls and platforms.
- Hyper Missiles – Final area requires these to blow up the locked access door.
These are sample abilities. Each one is required to access a specific zone.
Step 2: choose your visual style
Using yEd I had little to no difficulty in choosing my visual style. One color for each zone. Different shapes for different types of room (mandatory and optional). Different edge type for different path types (main path, backtracking paths, optional paths).
STEP 3: Lay down your world
There’s very little to say here. The numbers are there to facilitate reading the level progression (from 1 to 15). Remember this is not the final world layout but it merely suggests the progression of rooms and paths.
Change the arrows, move the rooms, mix it up. Spend some time refining and developing your schemes.
Reading the Map Scheme – Examples:
Simple Example
To access room 4, I need to backtrack from room 3 to 1 (the curved edges), through room 2. In room 1 there will be an obstacle requiring me to have the Zone 2 ability to access the 4th room (the straight cyan edge).
A more complex example:
To access room 12, visible from room 3, you need to be in room 11 and progress directly to room 3 through a path before unavailable to you. No need to backtrack because you already have the orange ability (in my case it’s Quantum Tunneling). So you’re back in room 3… but since you also have the ice beam, you could take your time to visit the optional room available in room 3.
These are safety nets against boredom. There’s always something new for you to find in past rooms. Because the environment is the same, but the player changes throughout the game, so in this case room 3 suddenly looks different. Because you could freeze an enemy and access a previously inaccessible optional room.
Conclusion
The last thing you need to do is to actually design your rooms/levels. Use your scheme to design the layout of the world map.
I hope you find this method useful. Let me know if you come up with a better way to design open worlds mechanics for Metroid-like games.